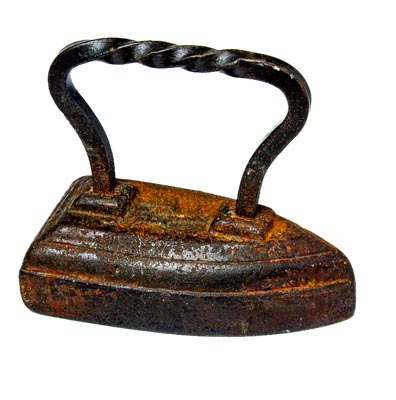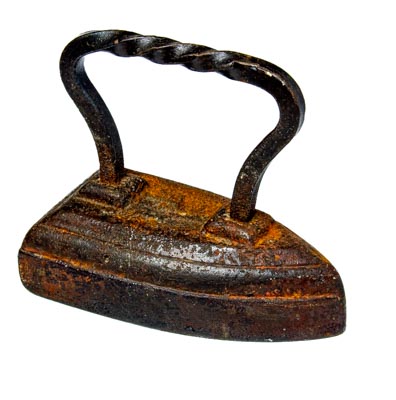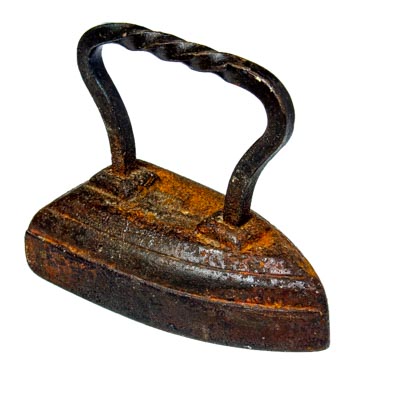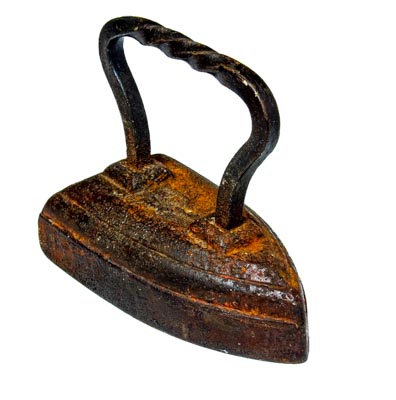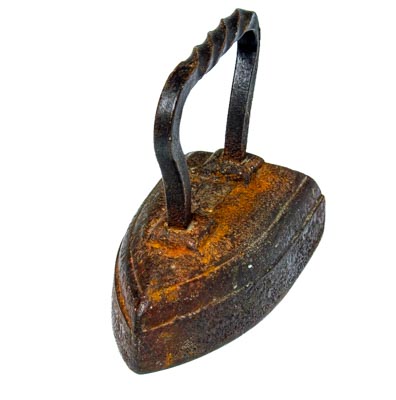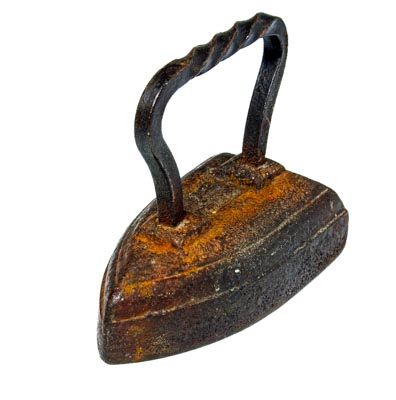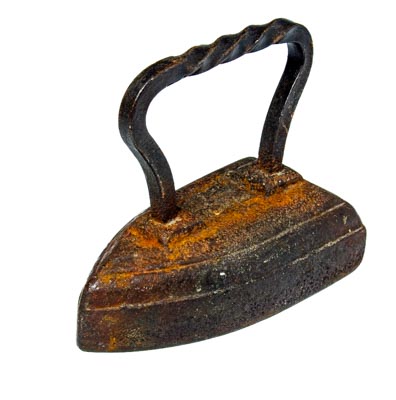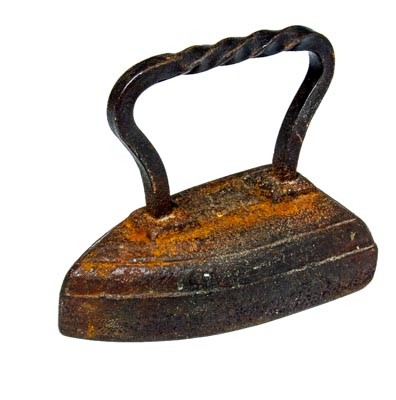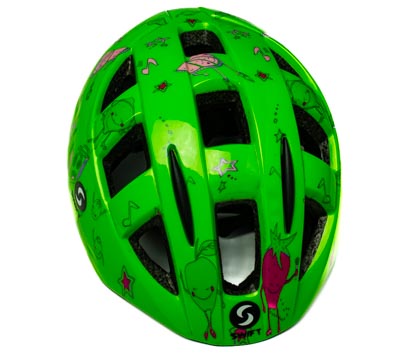
17.02.2025





















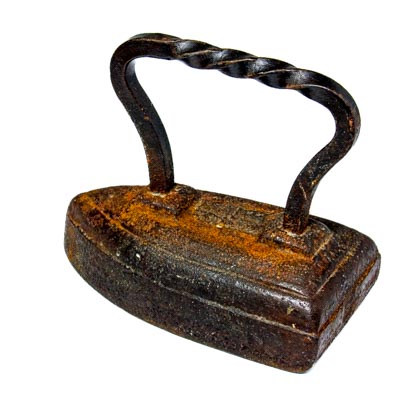
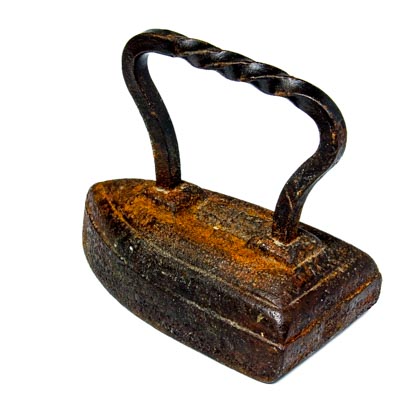
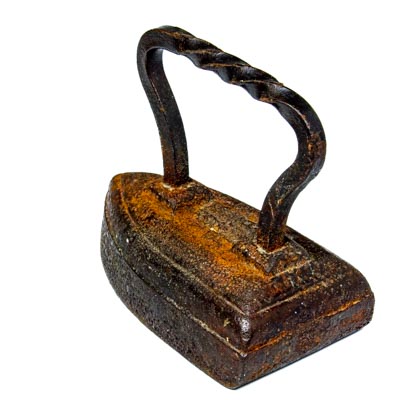
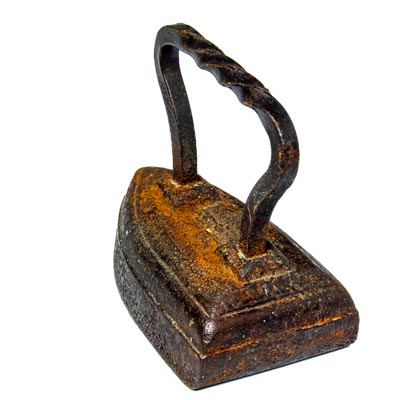
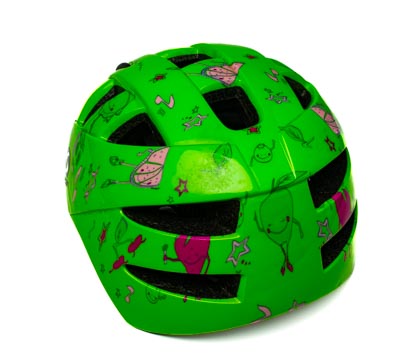
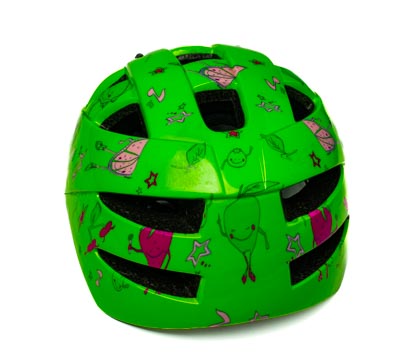
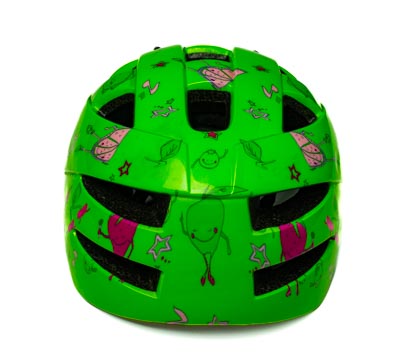
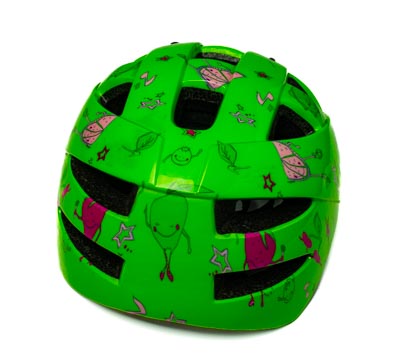
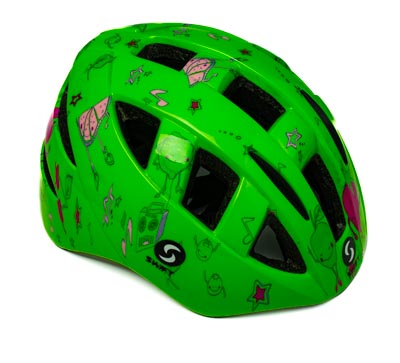
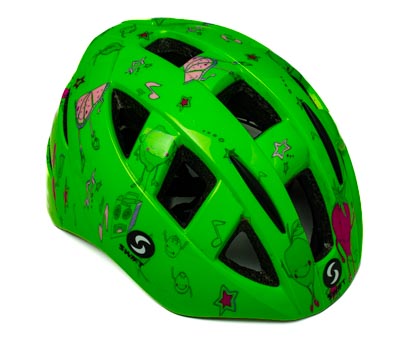
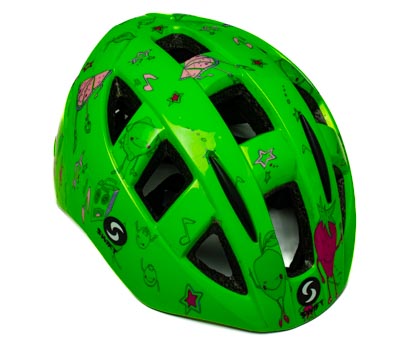
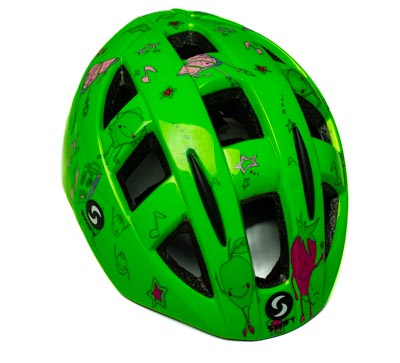
Интерактивные фото 360 можно легко добавить на любой сайт. В этой статье мы расскажем, как добавить такой элемент в WordPress.
См. также Вращение 360 с использованием canvas.
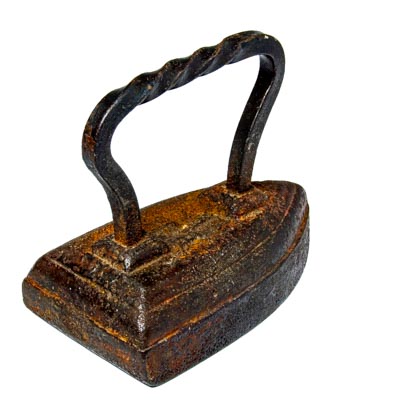
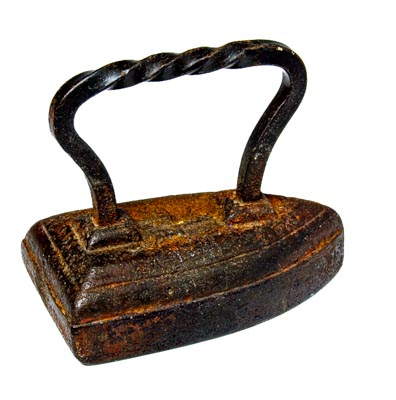
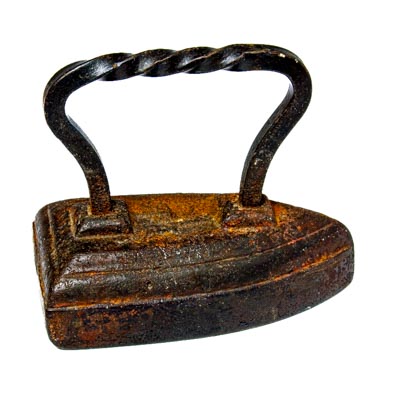
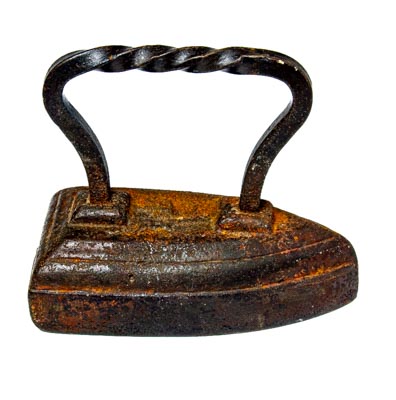
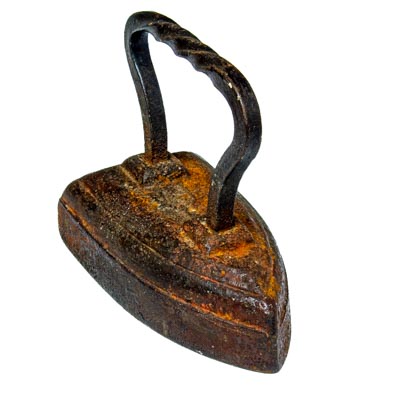
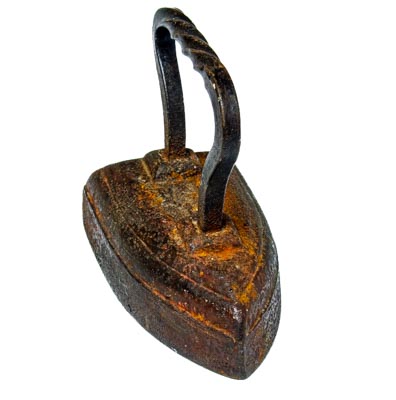
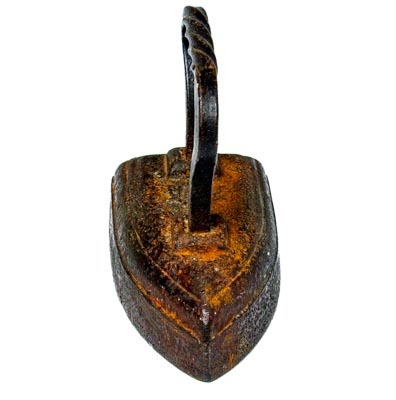
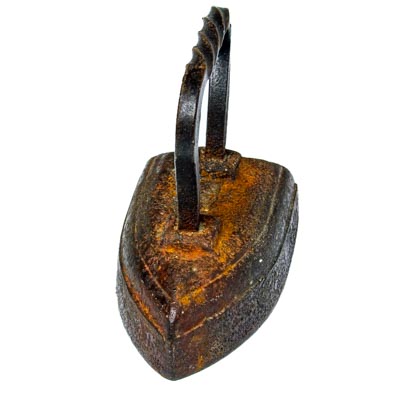
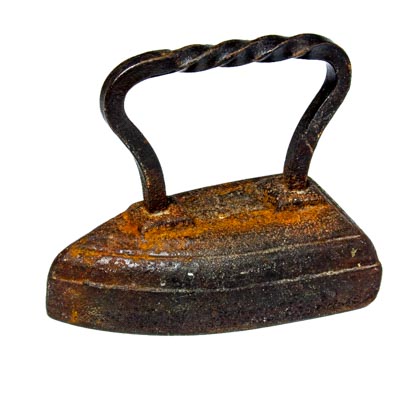
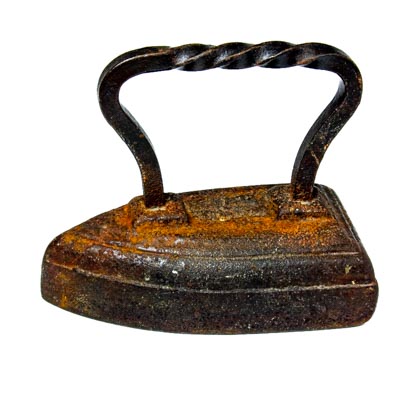
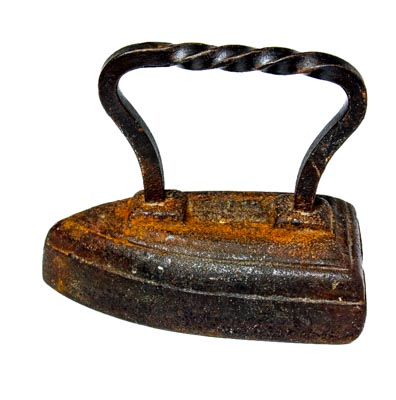
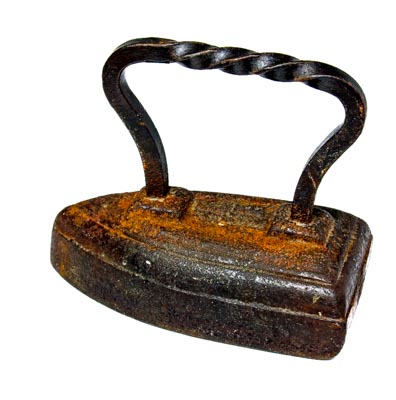
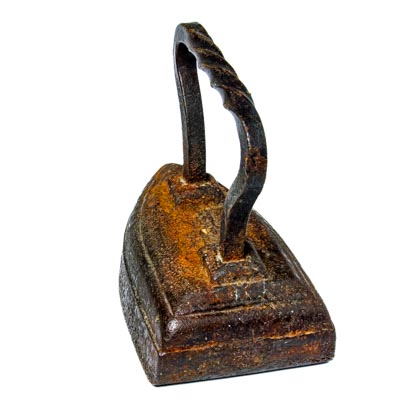
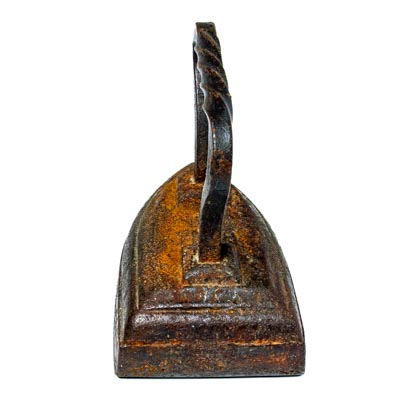
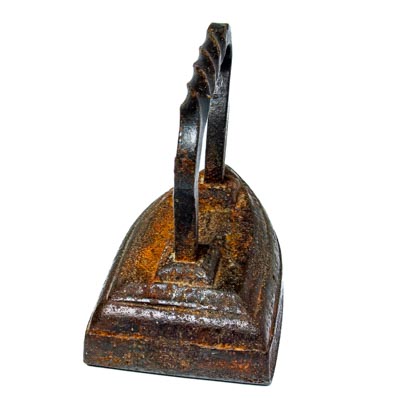
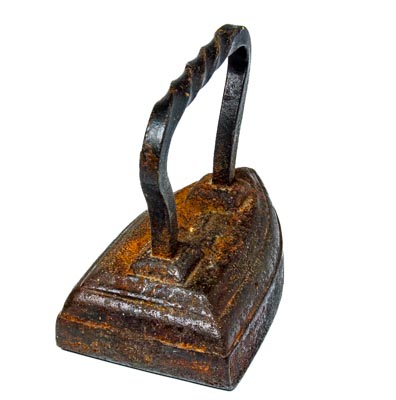
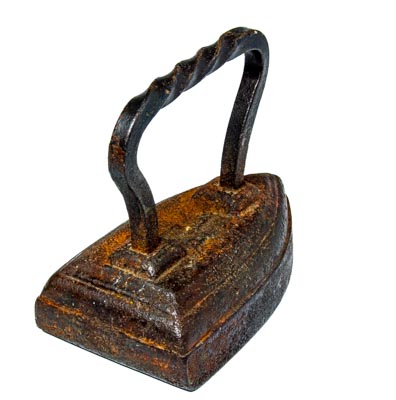
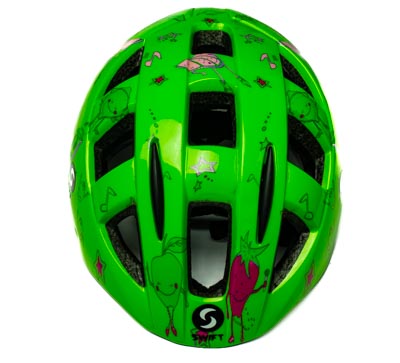
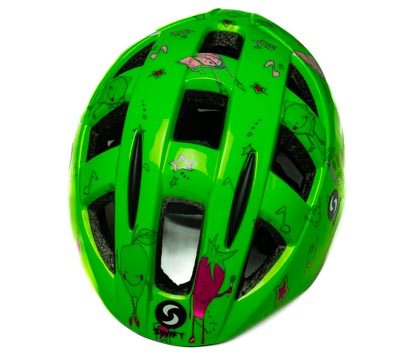
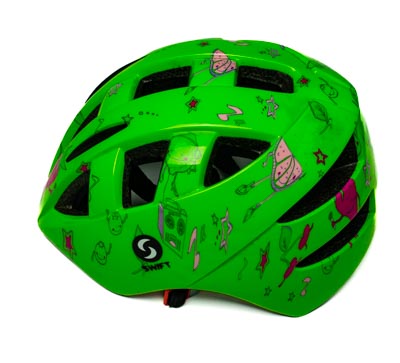
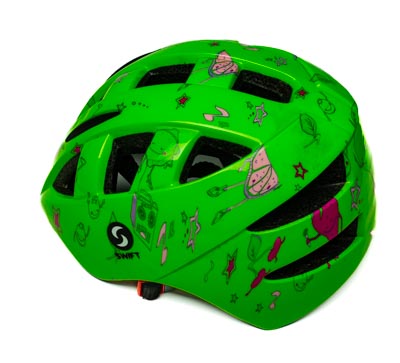
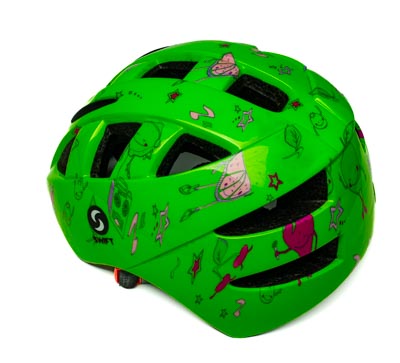
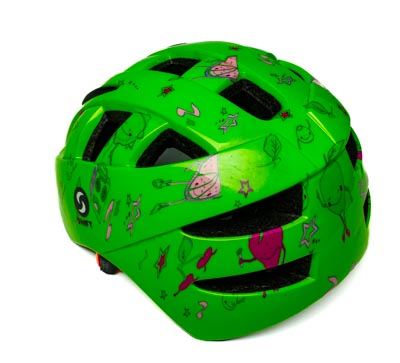
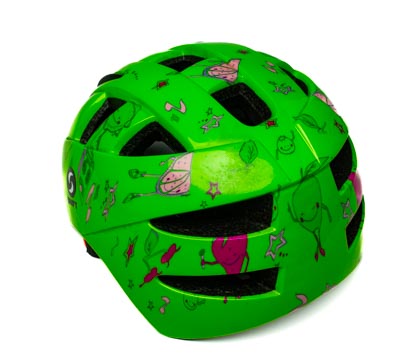
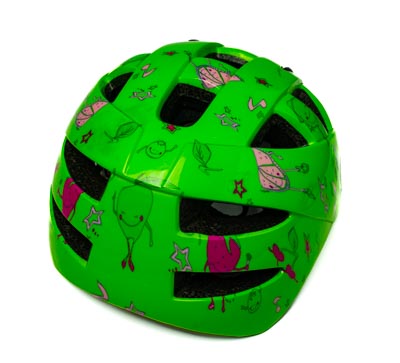
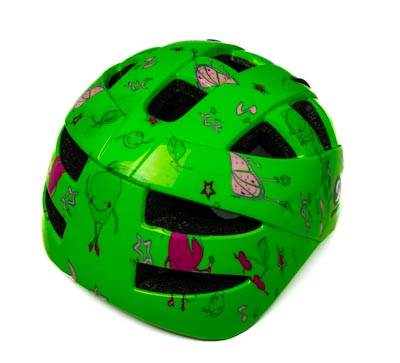
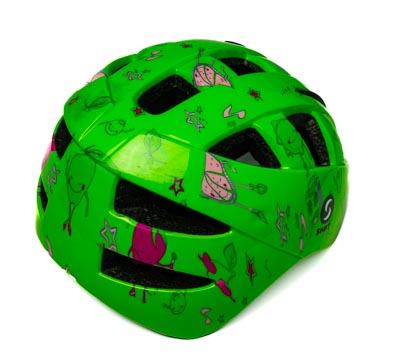
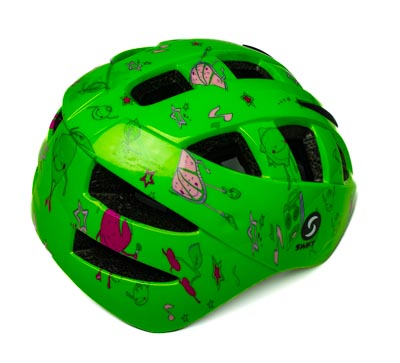
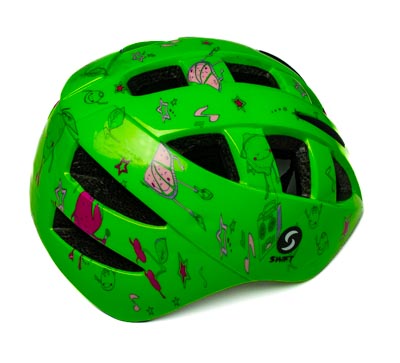
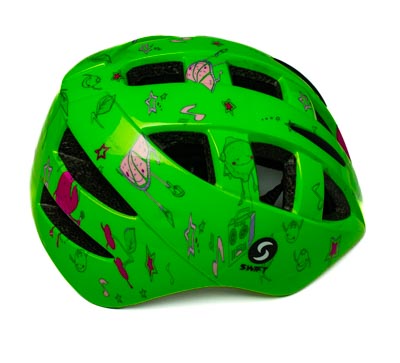
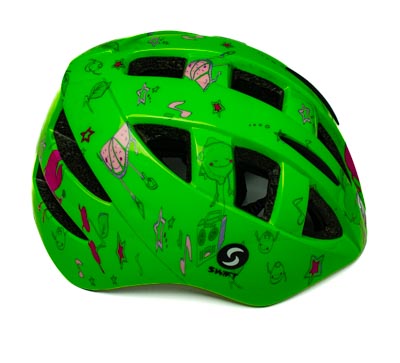
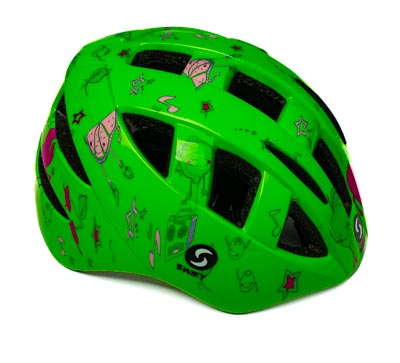
Итак, у вас есть набор фотографий объекта, снятого со всех сторон.



Лучше, если имена файлов содержат порядковые номера фотографий, так вам будет легче использовать изображения в будущем.
Загрузите ваши фотографии в библиотеку медиафайлов. Теперь нам потребуется загрузить свои сниппеты CSS-стилей и JavaScript-кода. Сделать это можно, используя плагины, такие как WPCode. В этой статье мы будем использовать плагин Simple Custom CSS and JS.
После активации плагина в консоли появится меню «Произвольные CSS и JS».
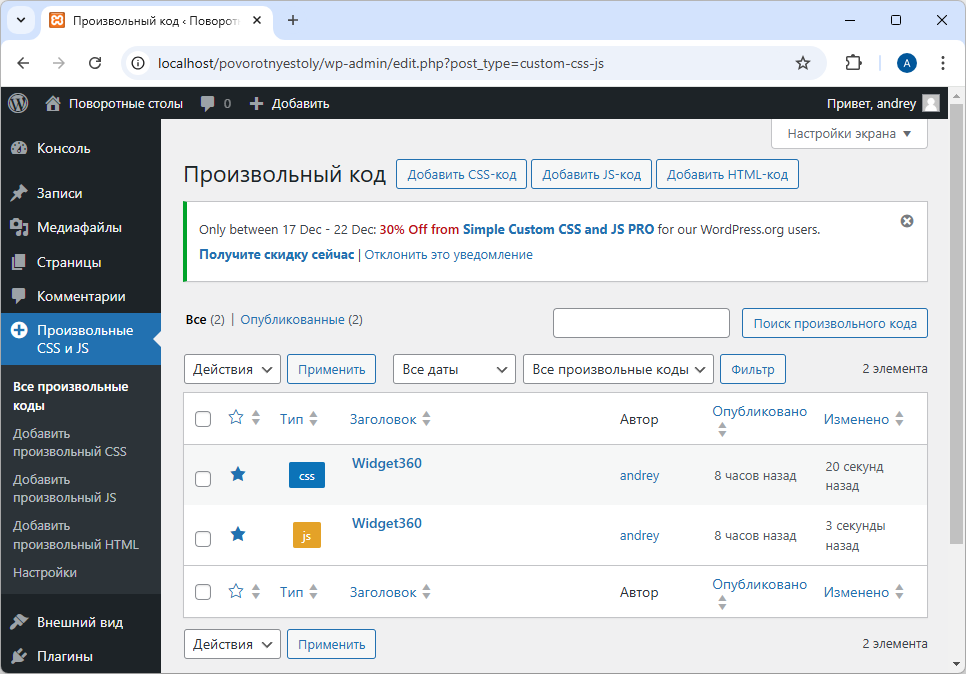
Нажмите кнопку «Добавить CSS-код» и вставьте следующий код:
.rotation {
    touch-action: pinch-zoom;
    img {
        cursor: grab;
        user-select: none;
    }
}
Затем нажмите кнопку «Добавить JS-код» и добавьте JavaScript код:
class Rotater {
    #div;
    #frames;
    #currentFrame = 0;
    #x;
    #isRotation = false;
    #observer;

    constructor(id) {
        this.#div = document.getElementById(id);
        this.#frames = this.#div.getElementsByTagName('img');
    }

    static async initialize(id) {
        const rotater = new Rotater(id);
        await rotater.#init();
        return rotater;
    }

    async #init() {
        let promise = this.#preloadImages()
            .then(() => {
                const options = {
                    root: null,
                    rootMargin: "0px",
                    threshold: 0.8,
                };
                this.#observer = new IntersectionObserver((entries) => {
                    if (entries[0].isIntersecting && entries[0].target === this.#div) {
                        this.#observer?.unobserve(this.#div);
                        this.runInitialRotation();
                    }
                }, options);
                this.#observer.observe(this.#div);

                this.#div.addEventListener('pointerdown', (e) => this.beginRotation(e), true);
                this.#div.addEventListener('pointermove', (e) => this.rotate(e), true);
                this.#div.addEventListener('pointerup', (e) => this.endRotation(e), true);
            })
            .catch(() => this.#div.innerText = "At least one image failed to load");

        await promise;
    }

    async #preloadImages() {
        const LoadImage = (img) => {
            return new Promise((resolve, reject) => {
                var newImage = new Image();
                newImage.onload = () => {
                    resolve(newImage);
                };
                newImage.onerror = newImage.onabort = () => {
                    reject(newImage);
                };

                // Set up the new image
                newImage.src = img.src;
                Rotater.Hide(newImage);
                // Insert new image and remove old
                img.parentNode.insertBefore(newImage, img);
                img.parentNode.removeChild(img);
            });
        }

        var promises = [];
        for (var i = 1; i < this.#frames.length; i++) {
            promises.push(LoadImage(this.#frames[i]));
        }
        return await Promise.all(promises);
    }

    runInitialRotation() {
        this.#isRotation = true;
        const milliseconds = 15;
        let count = 0;
        let timerId;
        const ShowPrevImage = () => {
            count++;
            if (count > this.#frames.length) {
                clearInterval(timerId);
                this.#isRotation = false;
            } else {
                this.#showPrev();
            }
        }

        timerId = setInterval(() => ShowPrevImage(), milliseconds);
    }

    beginRotation(e) {
        if (this.#isRotation) {
            return;
        }

        e.preventDefault();
        this.#div.setPointerCapture(e.pointerId);
        this.#x = e.x;
        this.#isRotation = true;
    }

    rotate(e) {
        e.preventDefault();
        if (!this.#isRotation) {
            return;
        }

        const delta = 10;
        const x = e.x;
        if (x > this.#x + delta) {
            this.#showPrev();
            this.#x = x;
        } else if (x < this.#x - delta) {
            this.#showNext();
            this.#x = x;
        }
    }

    endRotation(e) {
        this.#isRotation = false;
        this.#div.releasePointerCapture(e.pointerId);
    }

    #showPrev() {
        const oldIndex = this.#currentFrame;
        this.#currentFrame--;
        if (this.#currentFrame < 0) {
            this.#currentFrame = this.#frames.length - 1;
        }

        Rotater.Show(this.#frames[this.#currentFrame]);
        Rotater.Hide(this.#frames[oldIndex]);
    }

    #showNext() {
        const oldIndex = this.#currentFrame;
        this.#currentFrame++;
        if (this.#currentFrame >= this.#frames.length) {
            this.#currentFrame = 0;
        }

        Rotater.Show(this.#frames[this.#currentFrame]);
        Rotater.Hide(this.#frames[oldIndex]);
    }

    static Show(element) {
        element.style.display = '';
    }

    static Hide(element) {
        element.style.display = 'none';
    }
}
Теперь у нас всё готово для вставки вращающегося элемента в любое место на сайте при помощи блока «Произвольный HTML». Возьмите за основу этот код и отредактируйте его.
<div class="rotation" id="myElement">
    <img src="1.jpg">
    <img src="2.jpg" style="display: none;">
    <img src="3.jpg" style="display: none;">
    ...
    <script>Rotater.initialize('myElement')</script>
</div>
Идея заключается в том, что на страницу добавляется HTML тег <div>, содержащий дочерние изображения. В любой момент можно видеть только одно изображение из набора. Когда пользователь нажимает на элемент и начинает движение, JavaScript код прячет текущее изображение и визуализирует следующее. Тег <script> создаёт управляющий JavaScript-объект. Не забудьте указать правильный параметр для вызова функции Rotater.initialize(); это должен быть id элемента <div>.
Добавьте столько элементов <img> в <div>, сколько у вас есть изображений и пропишите правильные пути к файлам в атрибуте src.
В этой статье приведён пример простейшего скрипта для вращения изображений. Исходный код доступен здесь: GitHub. Если вы хотите использовать более продвинутые возможности, можно найти и другие примеры, например:
https://github.com/Jeya-Prakash/3D-Product-Viewer-JavaScript-Plugin
https://github.com/ferrybrouwer/360-product-viewer.
Заметим, что в этих скриптах используется другой принцип: элемент <div> содержит только одно изображение, у которого при смене картинок динамически изменяется атрибут src.
Ещё несколько примеров вращающихся объектов: